Porcelain wood look tile is a beautiful (not to mention highly resilient and durable) alternative to real hardwood flooring. Before diving into the installation, learn a few quick tips on how to lay your wood look tile in a natural looking design.
First and foremost, if your goal is to achieve the look of real hardwood, then choose your tile wisely. Wood features variations in coloring and grain patterns. Pick a tile collection that offers the same! Make sure there is a range of patterns included in the tile line so you can achieve a nice mix that doesn’t look repetitive when laid out.
Once you’ve decided on tile, you’ll want to select a coordinating grout. Try and find a color that’s slightly darker than your tile. This will help lend a more natural look and feel to the overall design.
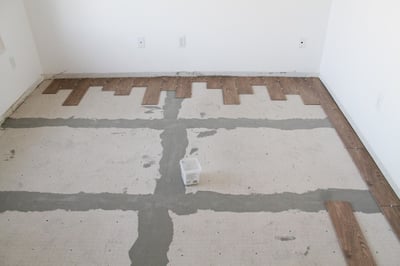
Real hardwood planks get butted tightly against each other in a layout … porcelain planks require grout joints. However, a natural looking design can still be achieved! By using the smallest spacer size possible (along with your complimentary grout color) you can easily make those joints disappear.
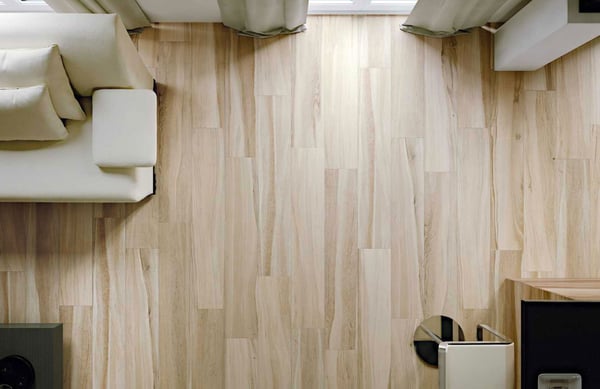
Last tip: picking your pattern! Try getting ideas from real wood patterns as opposed to tile patterns. The eye-catching randomness showcased in real hardwood installations is often what makes these designs so naturally beautiful. Apply this logic to your porcelain installation to achieve the same aesthetic!